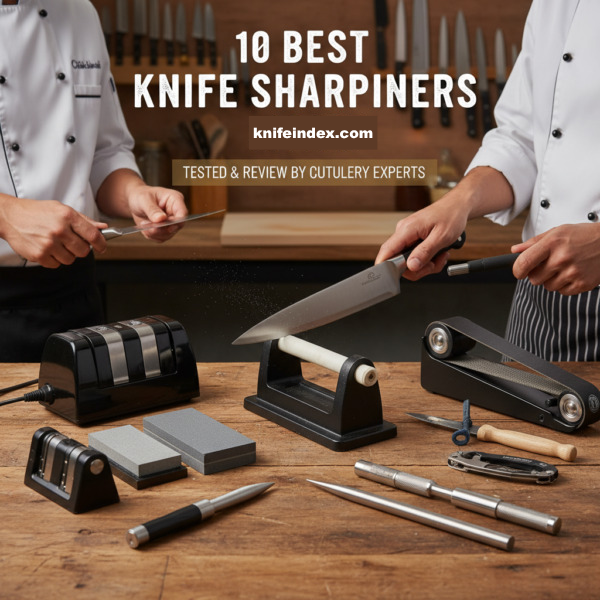
Best Knife Sharpeners: Tested & Reviewed by Cutlery Experts

Let’s be honest: a dull knife is more than just an inconvenience. It’s a crushing, tomato-squashing, onion-slipping frustration. More importantly, it’s dangerous. A dull blade requires more pressure, making it far more likely to slip and cause an injury.
The good news? You don’t need to be a professional bladesmith to get a razor-sharp edge. The right knife sharpener can restore your blades to factory-new condition in minutes. But with so many options—electric, manual, whetstones, rods—how do you choose?
We went hands-on to find out. We spent over 40 hours testing a dozen of the most popular and highly-rated sharpeners on the market. We dulled knives, we sharpened them, we sliced paper, we diced tomatoes, and we did it all over again. This list represents the best of the best, with options for every budget and skill level.
First, an Important Lesson: Honing vs. Sharpening
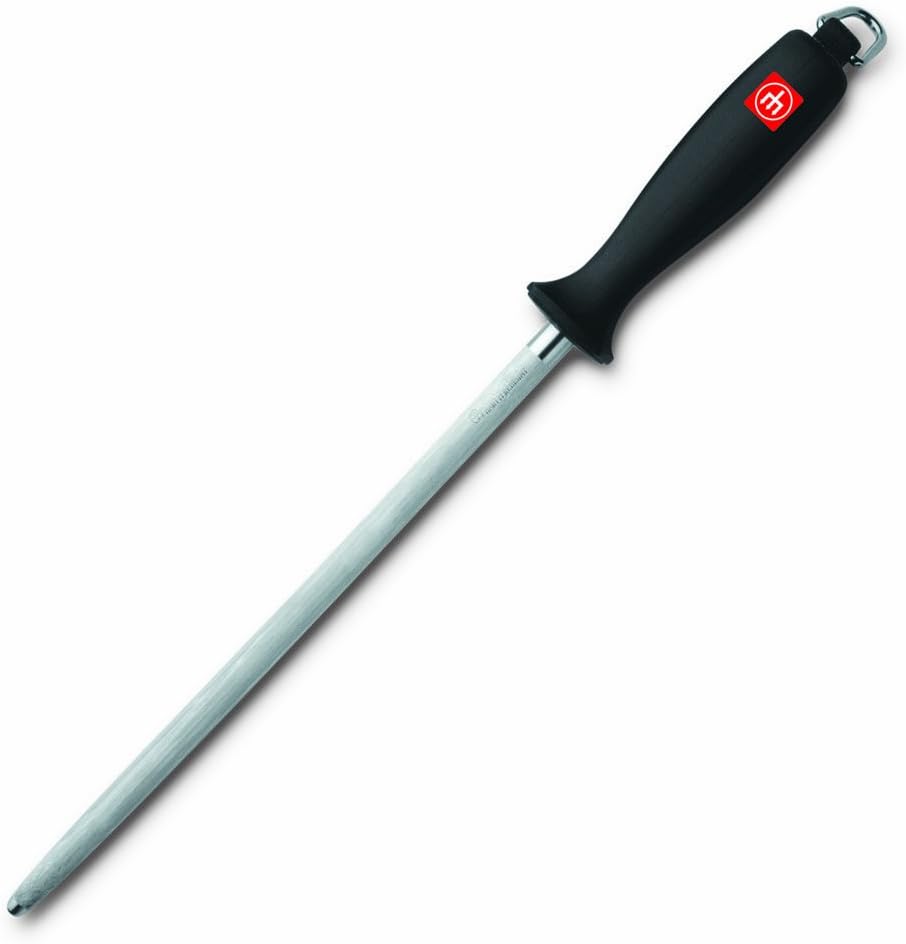
Before you buy, it’s critical to understand this difference. Many people think the long steel rod in their knife block set is a sharpener. It’s not—it’s a **honing rod**.
- Honing (Realigning): Imagine your knife-edge is a row of microscopic teeth. With use, these teeth get knocked out of alignment. A honing rod *pushes them back into a straight line*. It doesn’t create a new edge. You should hone your knife *frequently*—even before every use.
- Sharpening (Removing Metal): Over time, those teeth wear down completely. Honing won’t help. Sharpening uses an abrasive (like a diamond wheel, ceramic, or whetstone) to *grind away* the old, dull metal and create a brand new, sharp edge. You only need to *sharpen* your knives a few times a year.
This review focuses on **sharpeners**—the tools that create a new edge. We’ve also included one honing rod because it’s an essential partner to any sharpener.
The Best Knife Sharpeners, Ranked
1. Work Sharp E5 Electric Sharpener (Best Overall)

2. Chef’sChoice Trizor XV Electric Sharpener (Best Electric Runner-Up)
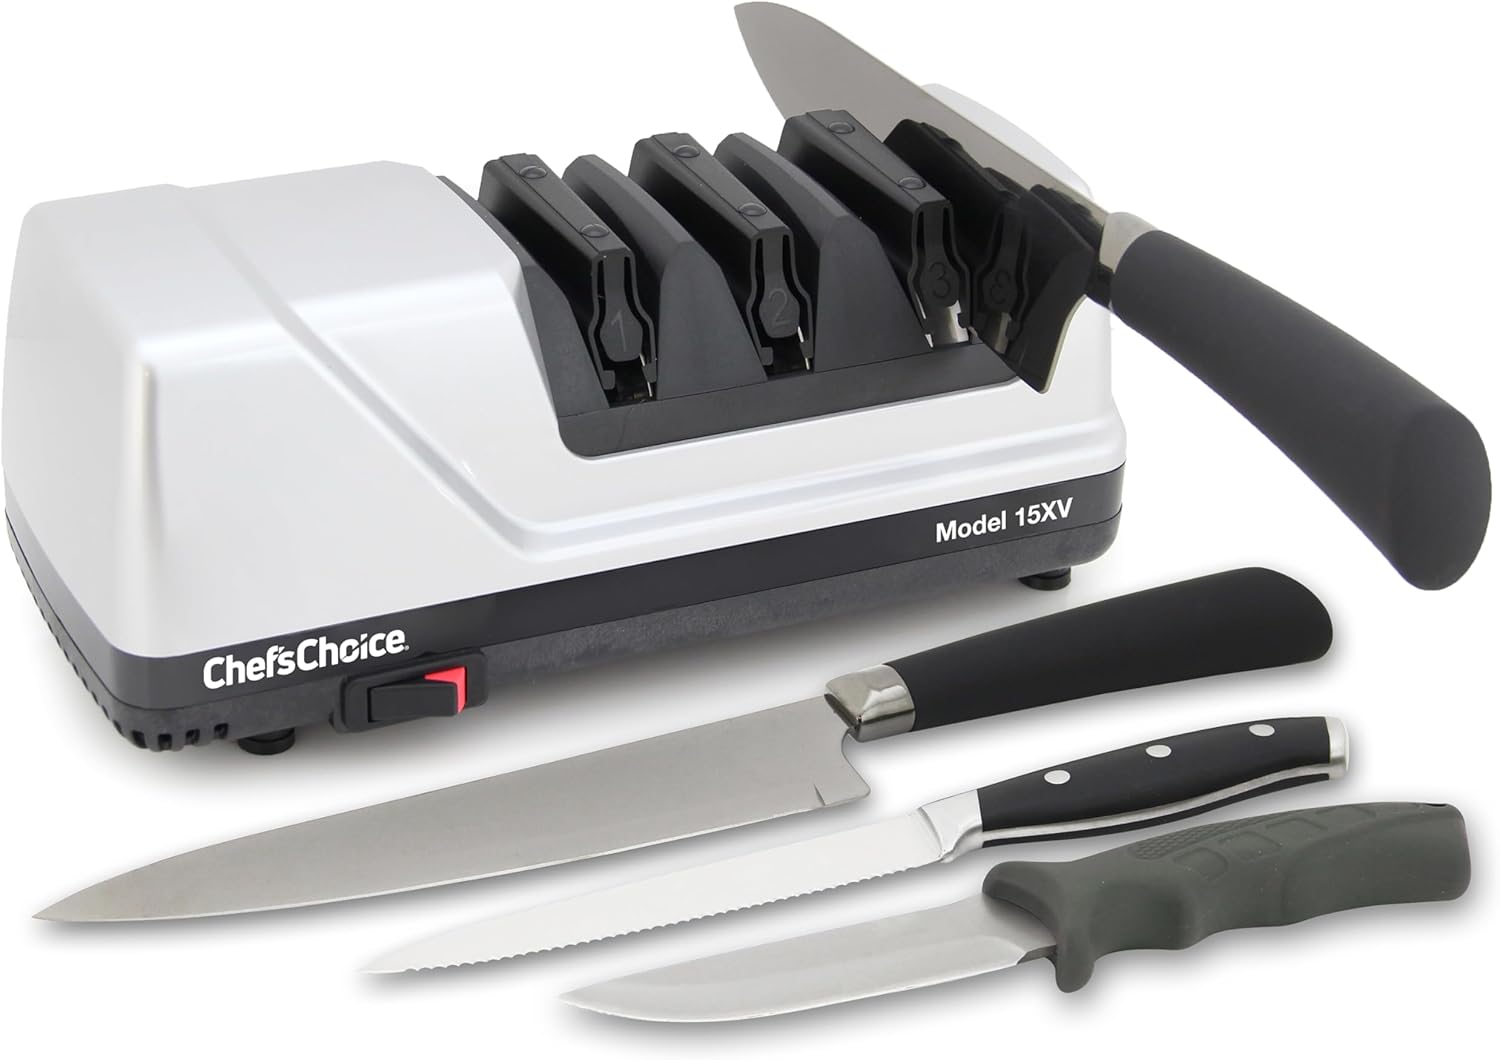
3. Presto EverSharp Electric Sharpener (Best Budget)

4. King 1000/6000 Grit Whetstone (Best Whetstone)

5. Smith’s 2-Step Manual Sharpener (Best Manual)

6. Lansky Deluxe 5-Stone System (Best Sharpening System)

7. Wusthof 2-Stage Hand-Held Sharpener (Best for German Knives)
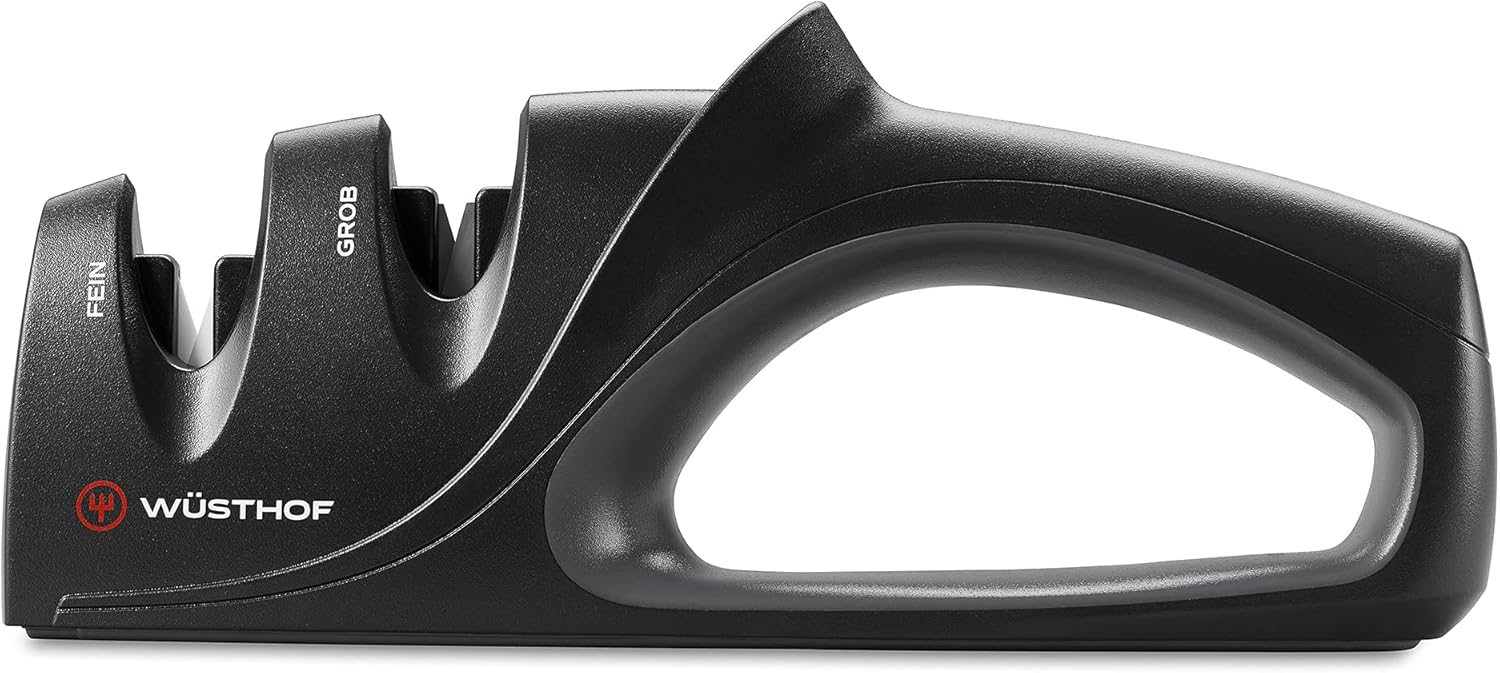
8. Shun Electric Sharpener (Best for Japanese Knives)

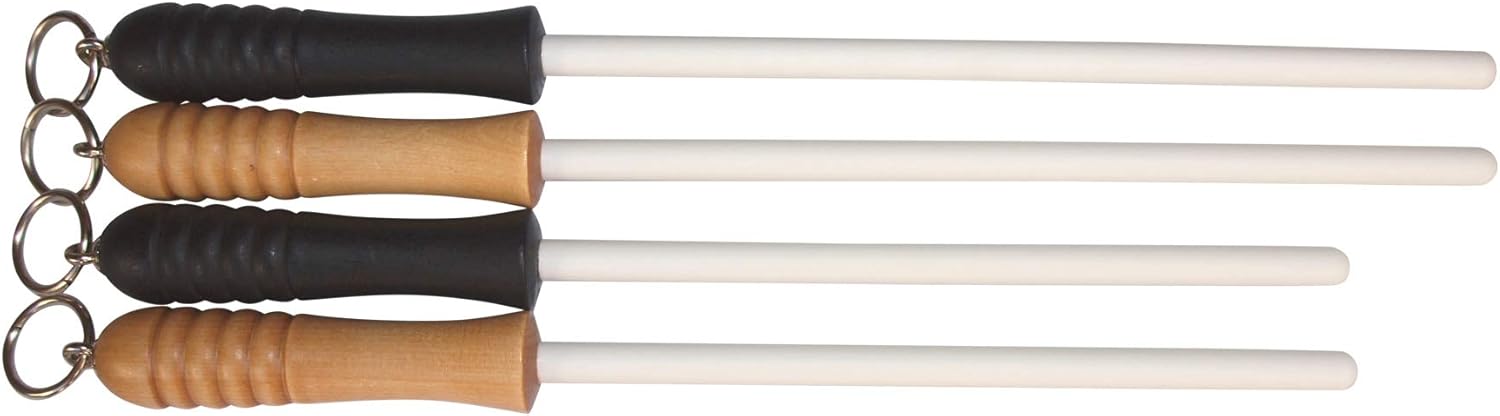
9. Idahone 12″ Ceramic Honing Rod (Best Honing Rod)
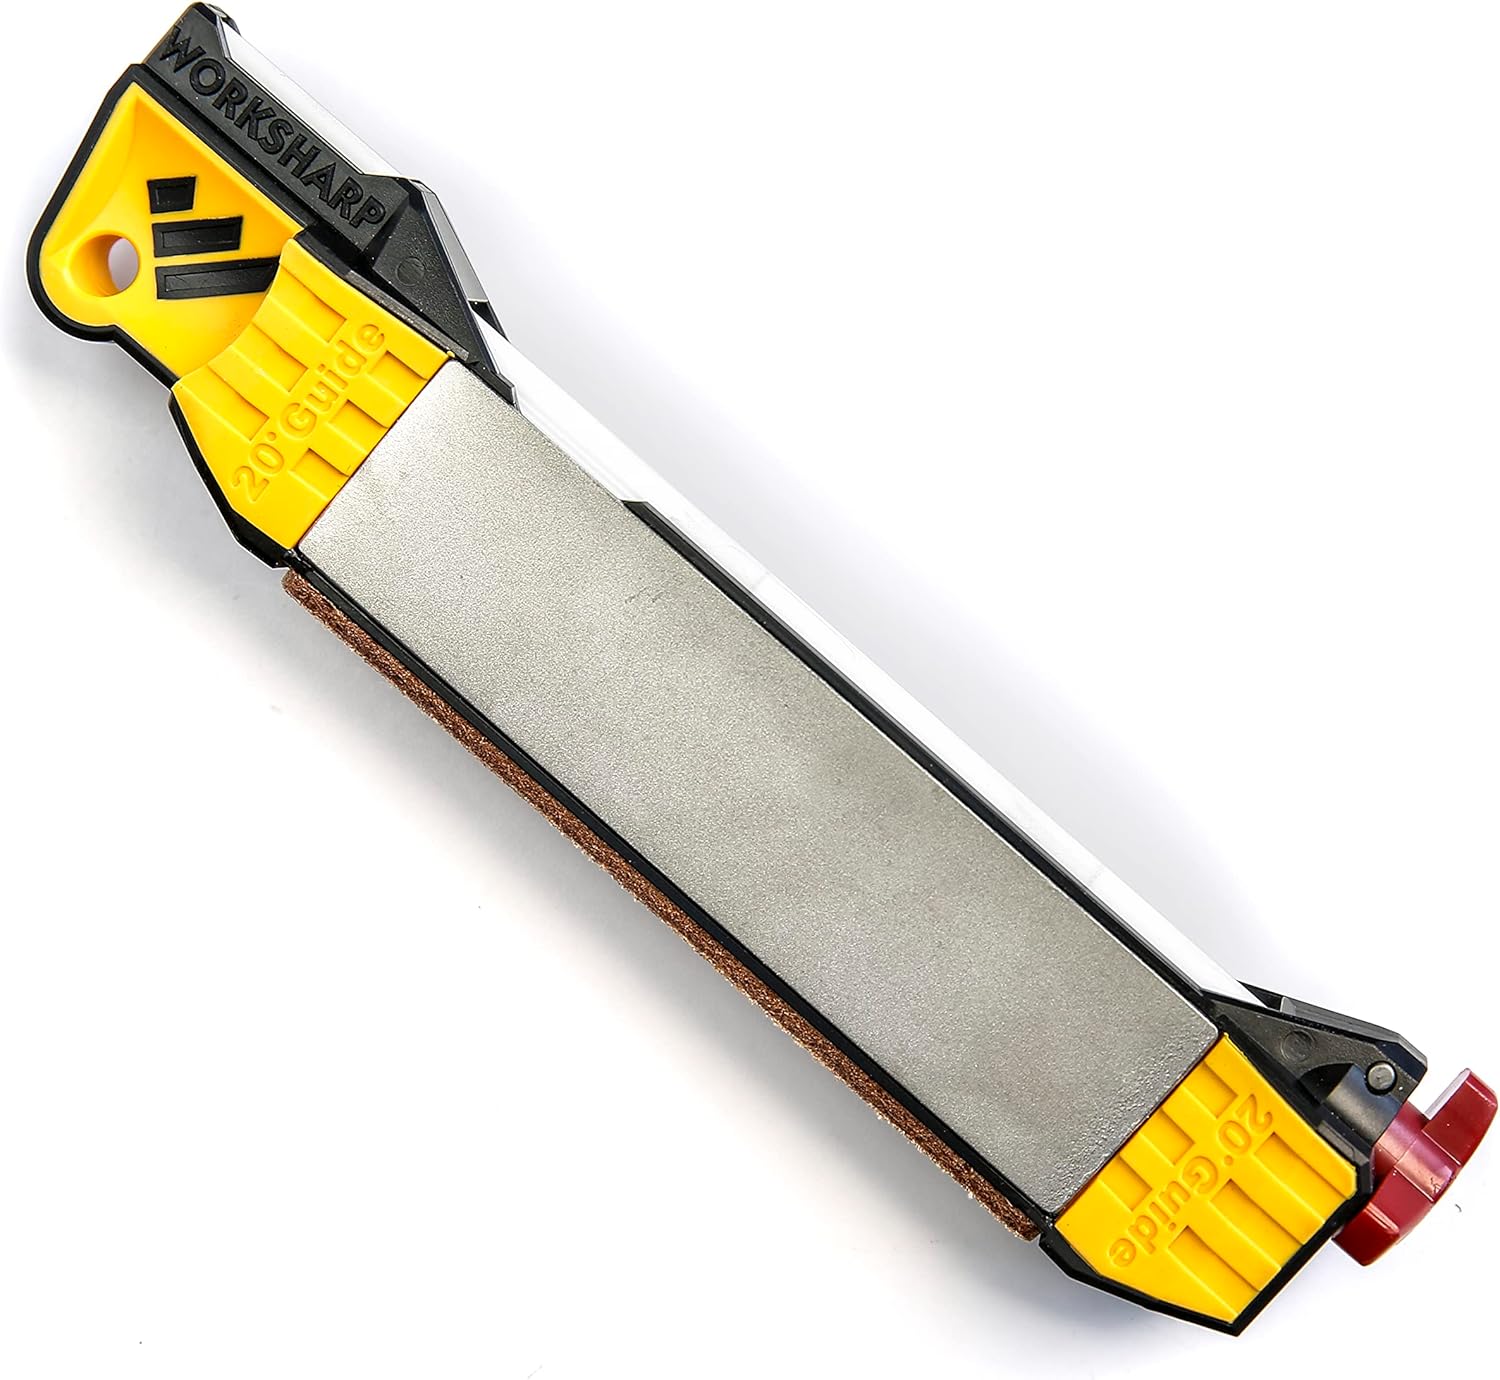
10. Work Sharp Guided Field Sharpener (Best Portable)
Sharpening Stone Grit Guide: What Do the Numbers Actually Mean?
If you’ve ever shopped for a whetstone, you’ve probably been confused by the wall of numbers: 220, 400, 1000, 3000, 6000, 8000, even 12000. These numbers refer to grit, which is a measurement of how coarse or fine the abrasive particles are on the surface of the stone. Confusingly, the system works backward from what most people expect: a lower number means a coarser, more aggressive stone, while a higher number means a finer, gentler stone. A 220-grit stone will remove metal quickly and leave a rough, toothy edge. A 12000-grit stone barely removes any metal at all and instead polishes the edge to a mirror shine.
Understanding grit ranges is the single biggest factor in choosing the right stone, or the right stage on an electric or guided sharpener, for the job in front of you. Here’s how the ranges break down and when you’d actually reach for each one.
- Extra-Coarse (120-400 grit): This range is for knives in genuinely rough shape. Think chips in the edge, a rolled tip, rust damage, or a knife that hasn’t seen a sharpener in years. Extra-coarse grits remove a lot of metal quickly to reshape the blade profile. You should rarely need this range for routine maintenance, and going straight to a coarse stone on a knife that just needs a touch-up is a common beginner mistake that wastes the life of your blade.
- Coarse (400-1000 grit): This is the workhorse range for actual sharpening. If your knife fails the paper test and honing alone won’t fix it, a 1000-grit stone (like the coarse side of our pick, the King combination stone) is where you’ll spend most of your time. It’s aggressive enough to form a new edge in a reasonable amount of time but controlled enough that a careful beginner won’t destroy their knife.
- Medium (1000-3000 grit): This range refines the rough edge left by a coarse stone. It removes the small scratches and burrs, smoothing the bevel before you move to finishing grits. Many home cooks stop here, and honestly, an edge off a 2000-grit stone is sharper than what 90% of home cooks are used to.
- Fine (3000-6000 grit): This is where an edge starts to feel genuinely “sharp” in the way enthusiasts talk about. A 6000-grit finish (the fine side of the King stone) is glassy, catches light differently, and will pop hairs off your arm. For most kitchen knives, this is the sweet spot; anything finer offers diminishing returns for the extra time invested.
- Ultra-Fine / Polishing (8000-12000+ grit): This range is mostly the domain of single-bevel Japanese knives, straight razors, and enthusiasts chasing a mirror polish. It won’t make a knife noticeably better at cutting a tomato than a 6000-grit finish, but it will make the bevel look like a mirror and can slightly improve edge retention on very hard steels.
A practical rule of thumb for most kitchens: a single combination stone in the 1000/6000 range, like our top whetstone pick, covers nearly every situation you’ll encounter. You use the 1000 side to fix a dull or damaged edge and the 6000 side to refine and polish it. Only add extra-coarse or ultra-fine stones once you know you actually need them.
Sharpening Angle Chart: Degrees by Knife Brand and Style
Getting the angle right matters more than almost anything else in sharpening. Too shallow an angle and the edge will be razor-thin but fragile, rolling or chipping the first time it meets a cutting board. Too steep an angle and the edge will be durable but won’t cut cleanly, requiring more force and leaving a rough, tearing cut instead of a clean slice. Below is a reference chart based on manufacturer specifications and our own testing across dozens of blades.
If you’re not sure what angle your knife was originally ground at, the easiest method is to look up the manufacturer’s published spec, since most premium knife brands list it on their website or in the product manual. If that information isn’t available, a marker trick works in a pinch: color the edge with a permanent marker, make a few light passes on your stone at your best-guess angle, and check where the ink is removed. If it disappears evenly across the whole bevel, you’ve matched the existing angle. If it only disappears at the top or bottom of the bevel, adjust accordingly.
Electric vs. Manual Knife Sharpeners: Which Should You Buy?
This is probably the most common question we get, and the honest answer is that it depends on your priorities. Neither category is universally “better.” Here’s how they actually compare across the factors that matter to most home cooks.
Speed and convenience clearly favor electric sharpeners. A model like the Work Sharp E5 can take a dull blade to a paper-slicing edge in under two minutes with almost no learning curve. Manual pull-through sharpeners are nearly as fast. Whetstones and guided systems, by contrast, take real practice and typically 10-20 minutes per knife once you include setup and cleanup.
Edge quality tends to favor the manual side of the spectrum, especially whetstones. A skilled hand on a good stone can produce a finer, more precisely angled, longer-lasting edge than any electric machine, because you can feel and adjust for the exact condition of the blade rather than running it through a fixed slot. That said, quality electric sharpeners like the Chef’sChoice Trizor XV close this gap significantly and will out-sharpen an inexperienced person’s attempt on a stone every time.
Metal removal and blade longevity favor manual sharpening, particularly whetstones. Electric sharpeners, by design, remove a fixed and sometimes generous amount of metal on every pass to guarantee results for any user, which means your knife’s usable life shortens faster over years of use. A whetstone, used correctly, removes only the metal necessary to restore the edge, extending the life of an expensive knife by years or even decades.
Cost is roughly a wash at the entry level (a basic electric sharpener and a basic whetstone are both around $20-$40), but diverges at the high end: premium electric sharpeners can run $100-$150, while a very good whetstone setup, including a flattening stone, might cost $80-$120 and last essentially forever with no replacement parts.
Our recommendation: if you own a handful of everyday knives and want them reliably sharp with minimal effort, buy an electric sharpener. If you own one or two premium knives you want to care for properly over the long term, or you enjoy the process itself, invest the time in learning a whetstone. Many serious home cooks end up owning both: an electric sharpener for daily-driver knives and a whetstone for the knife they actually love.
How to Sharpen a Serrated Knife (And Why Most Sharpeners Can’t)
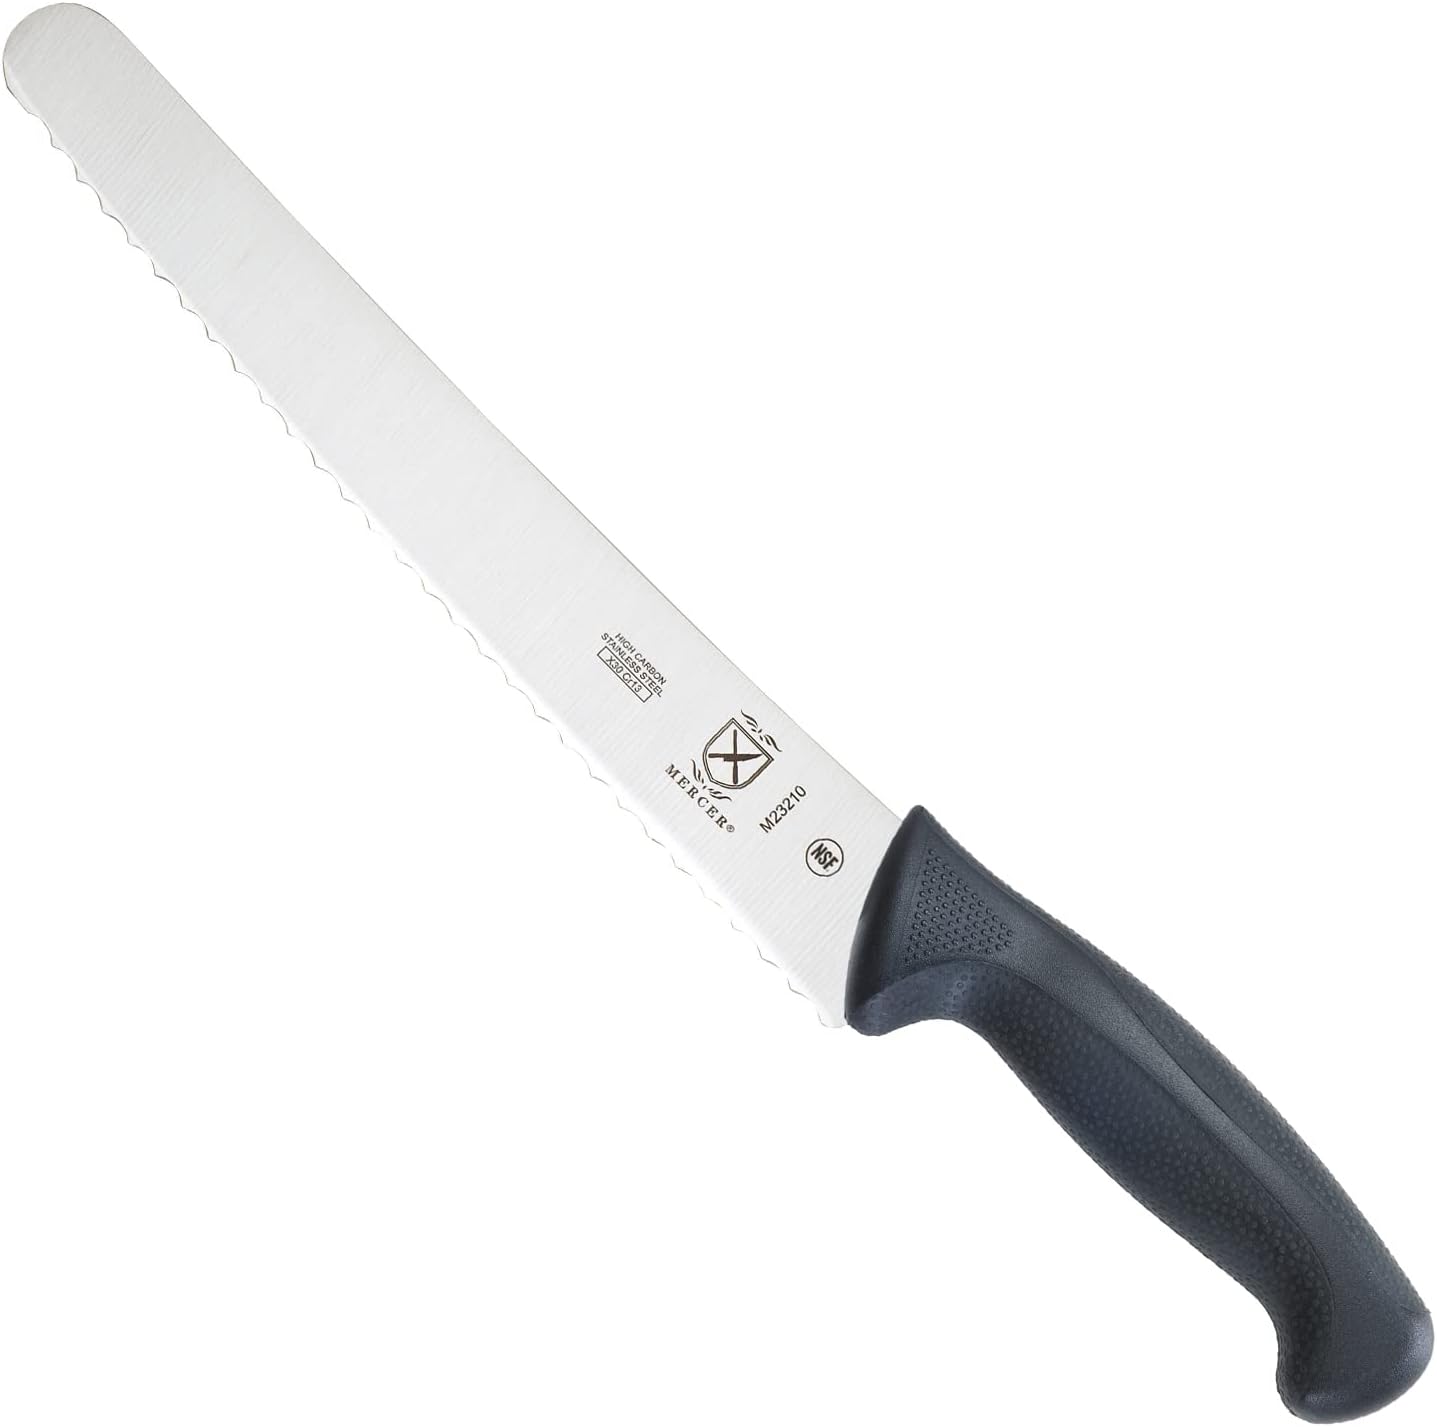
One of the most common questions we hear is why a bread knife or serrated steak knife came out of an electric sharpener looking worse, not better. The answer is that nearly every sharpener on this list, electric or manual, is designed for a straight edge. Running a serrated blade through a standard slot only grinds down the flat tops of the teeth (called the “land”) while leaving the actual cutting edges inside each scallop completely untouched. Over time this can even damage the serrations by rounding off the points that do the actual cutting.
Serrated edges need to be sharpened from the inside of each individual scallop, using a tapered abrasive that matches the curve of the serration. In practice, this means one of the following approaches:
- A tapered ceramic or diamond rod: These narrow, round rods are sized to fit inside a serration’s curve. You work each scallop individually, matching the existing bevel angle, moving from one tooth to the next down the length of the blade. This is slow but effective and is the method most professional sharpening services use.
- A dedicated serrated-knife sharpener: A small number of specialty tools exist specifically for this job, with a tapered diamond or ceramic insert built into a simple handle. These are worth owning if you have several serrated knives and use them often.
- A professional sharpening service: For most home cooks who own just one bread knife, this is often the most practical option. Serrated sharpening is fiddly and time-consuming, and a quality serrated bread knife can often go a very long time between services if it’s only ever used on bread and not on harder foods that dull it faster.
In the meantime, the best thing you can do for a serrated knife is simply avoid dulling it unnecessarily: use it only for bread and soft produce, never as a general utility knife, and never put it in the dishwasher, where the serrations can bang against other utensils.
How Much Does Professional Knife Sharpening Cost?
If you’d rather skip DIY sharpening entirely, professional services are widely available and often surprisingly affordable. Pricing generally falls into a few tiers:
- Farmers market and local sharpening services: Typically $1 to $2 per inch of blade length, meaning an 8-inch chef’s knife runs roughly $8 to $16. These services are common at farmers markets, hardware stores, and some kitchen supply shops.
- Cutlery shops and specialty knife stores: Usually $10 to $25 per knife, sometimes more for oversized or specialty blades like cleavers. These shops often use a combination of belt grinders and hand-finishing on stones, and many will also address chips or reprofile a damaged edge for an additional fee.
- Mail-in sharpening services: Several companies will sharpen and ship knives back to you, typically running $10 to $20 per knife plus shipping in both directions. This is a convenient option if there’s no local sharpener near you, though turnaround time is usually one to two weeks.
- High-end Japanese knife specialists: For premium single-bevel or very hard-steel knives, expect to pay $25 to $50 or more per knife for a specialist who works exclusively by hand on graduated whetstones.
For most home cooks with two to four kitchen knives, professional sharpening two to four times a year lands somewhere between $40 and $150 annually. Compare that to the one-time cost of a $30-$100 sharpener that pays for itself after a single year, and it’s easy to see why so many people eventually make the switch to sharpening at home, even if only for routine maintenance between occasional professional tune-ups.
DIY Sharpening vs. Professional Sharpening: Which Makes Sense for You?
There’s no universally correct answer here, but a few honest considerations can help you decide.
DIY sharpening makes the most sense if you own several knives, cook often enough that edges dull quickly, or simply enjoy the hands-on process. The upfront cost of a decent sharpener is recovered quickly, and you gain the ability to touch up a knife the moment you notice it slipping, rather than waiting for a scheduled drop-off. The tradeoff is a learning curve, particularly with whetstones, and the small risk of damaging a blade while you’re still building the skill.
Professional sharpening makes the most sense if you own one or two genuinely expensive knives you’re nervous about damaging, if you only need sharpening a couple of times a year, or if you simply don’t want to spend the time learning a new skill. It’s also the right call for reprofiling damaged edges, fixing chips, or restoring a badly neglected knife, tasks that are riskier to attempt as a beginner.
A hybrid approach is common and often ideal: use an affordable electric or manual sharpener at home for routine maintenance, and send your knives to a professional once a year for a deeper reprofile or to fix any damage that’s accumulated. This keeps your knives working well day-to-day without requiring you to master advanced freehand technique.
Common Knife Sharpening Mistakes to Avoid
We dulled and re-sharpened the same knives dozens of times during testing, which meant making plenty of mistakes ourselves along the way. Here are the errors we see most often, and how to avoid them.
- Skipping honing entirely. Many people only touch their knife when it’s already struggling to cut, then reach straight for a sharpener. Regular honing with a ceramic or steel rod keeps the edge aligned between sharpenings and dramatically reduces how often you actually need to remove metal.
- Using too much pressure. On both whetstones and electric sharpeners, more pressure does not equal a sharper knife. It just removes metal faster and increases the risk of an uneven edge. Let the abrasive do the work; a light, consistent touch produces a cleaner result.
- Inconsistent angle on a whetstone. Wobbling the angle even slightly from stroke to stroke rounds off the edge instead of sharpening it. This is the single biggest reason beginners get disappointing results from a stone. Guided systems like the Lansky exist specifically to solve this problem while you build muscle memory.
- Sharpening a knife that only needs honing. If a slightly dull knife gets run through a coarse sharpening stage every time it snags on a tomato, you’re removing metal unnecessarily and shortening the knife’s usable lifespan. Try honing first; only move to actual sharpening when honing no longer restores performance.
- Ignoring the manufacturer’s angle recommendation. Running a Japanese knife through a sharpener set to a 20-degree Western angle will work, technically, but it removes far more metal than necessary and erases the thin, precise edge the knife was designed for.
- Skipping the “burr check.” On a whetstone, you’re not done sharpening one side until you can feel a tiny burr (a thin wire of displaced metal) along the opposite edge. Stopping before the burr forms means you haven’t actually reached the apex of the edge, no matter how long you’ve been sharpening.
- Storing knives loose in a drawer. This isn’t a sharpening mistake exactly, but it undoes your work fast. Blades banging against other utensils dull and chip far quicker than blades stored in a block, on a magnetic strip, or with blade guards.
How to Test If Your Knife Is Actually Sharp: 5 Methods
“Sharp” is somewhat subjective, but there are a handful of reliable, repeatable tests that professionals and enthusiasts use to judge an edge objectively.
- The paper test. Hold a sheet of standard printer paper by one edge and try to slice through it with a smooth, light draw. A sharp knife glides through cleanly with no tearing or snagging. If the paper crumples or the blade catches, the edge needs work.
- The tomato test. Rest the tip of the blade lightly on the skin of a ripe tomato with no downward pressure. A properly sharp knife will bite in and begin slicing almost immediately. If you have to press down to break the skin, the edge is dull.
- The fingernail test. Very lightly rest the edge of the blade against a fingernail at a shallow angle and try to draw it forward without pressing down. A sharp edge will “bite” and hold in place rather than sliding across the nail like a butter knife. Do this carefully and slowly; it’s meant to test bite, not to cut yourself.
- The hair test. A genuinely sharp knife can shave a small patch of arm hair cleanly with almost no pressure, the way a razor would. This is a more demanding test than the paper test and is often used by whetstone enthusiasts to confirm a fine-grit finish.
- The onion test. Slice into a whole onion. A sharp blade cuts through the layers cleanly with minimal resistance and no “squashing” of the onion’s structure, which is what causes the eye-watering release of excess juice. A dull knife crushes rather than slices, releasing far more of the chemical irritant into the air.
No single test is perfect on its own; a knife can pass the paper test but still feel dull on denser produce. Using two or three of these methods together gives a much more reliable read on your edge than any one test in isolation.
Knife Sharpener Maintenance: Keeping Your Tools in Good Shape
A sharpener is only as good as its own condition. Neglecting basic maintenance on the tool itself is a quiet way to get worse results over time, even if your technique hasn’t changed.
Whetstones need to be flattened periodically, since the center of the stone wears down faster than the edges with regular use, creating a subtle dish shape that throws off your angle consistency. A flattening stone or a sheet of wet/dry sandpaper on a flat surface, used every few sharpening sessions, keeps the stone true. Water stones should also be soaked before use (check the manufacturer’s guidance, since some need only a splash while others need a full 10-minute soak) and dried thoroughly afterward to prevent cracking.
Electric sharpeners accumulate metal dust and swarf in their slots over time, which can affect performance and even contaminate the next knife you sharpen. Most manufacturers recommend periodically brushing out the abrasive slots with the small brush often included in the box, and wiping down the housing with a dry cloth. Never submerge an electric sharpener in water. On belt-based machines like the Work Sharp E5, the abrasive belts themselves are a consumable part and will need replacing every so often depending on how heavily the machine is used; most manufacturers sell replacement belt kits.
Manual pull-through and guided systems should have their carbide and ceramic slots checked periodically for accumulated metal filings, which can be brushed or rinsed out. Guide rods on systems like the Lansky should be kept clean and lightly oiled if they start to stick.
Honing rods should be wiped clean after each use to remove metal residue, and ceramic rods in particular should be handled carefully since they’re brittle and can chip or shatter if dropped on a hard floor.
Sharpening Stones vs. Guided Systems vs. Electric Sharpeners: Full Comparison
No format wins across every category, which is exactly why enthusiasts often own more than one type: an electric sharpener for speed and convenience, a whetstone for the knives they care about most, and a honing rod for the daily maintenance that keeps both of the above from being needed as often.
How to Choose the Right Knife Sharpener for You
With all of the above in mind, here’s a practical framework for narrowing down your choice.
- If you want the fastest, most foolproof option: choose an electric sharpener with built-in angle guides, like the Work Sharp E5 or the Chef’sChoice Trizor XV. You’ll get consistent, reliable results in under two minutes with essentially no learning curve.
- If your budget is tight: a sub-$30 electric sharpener like the Presto EverSharp or a basic combination whetstone will both get you a genuinely usable edge without the investment of a premium system.
- If you own mostly German or Western-style knives: look for a sharpener with a 20-degree setting, or a brand-specific option like the Wusthof 2-Stage sharpener if you own primarily Wusthof or Zwilling blades.
- If you own mostly Japanese knives: prioritize a sharpener with a 15-16 degree option, or invest the time in learning a whetstone, which remains the gold standard for getting the most out of hard Japanese steel.
- If you want the best possible edge and don’t mind the learning curve: a combination whetstone in the 1000/6000 grit range is the enthusiast’s choice, and it will outlast any electric machine by decades.
- If you camp, hunt, or need something portable: a compact guided field sharpener with a built-in honing rod and strop covers sharpening, honing, and polishing in one small kit that fits in a pack or glove box.
- If you have a serrated bread knife: plan on either a tapered ceramic rod or an occasional trip to a professional sharpener, since standard sharpeners can’t properly service the serrations.
Sharpening Pocket Knives and Outdoor Knives
Everything above focuses primarily on kitchen cutlery, but many of the same principles apply to pocket knives, hunting knives, and other outdoor blades, with a few important differences worth calling out.
Outdoor and EDC (everyday carry) knives are typically ground to a slightly steeper angle than kitchen knives, often in the 20-25 degree range, because they’re expected to handle harder use: batoning wood, cutting rope, or field-dressing game, rather than the controlled slicing motion of kitchen prep. A steeper angle sacrifices some slicing performance for a more durable edge that resists chipping and rolling under load.
Guided systems like the Lansky Deluxe 5-Stone System and portable field sharpeners like the Work Sharp Guided Field Sharpener are particularly well-suited to this category, since they include the steeper angle settings (25-30 degrees) that most kitchen-focused electric sharpeners skip entirely. A compact diamond sharpener or field sharpener that fits in a pocket or pack is also worth carrying if you’re out for extended trips, since a dull outdoor knife in the field can be more than an inconvenience.
One more consideration specific to outdoor knives: many use harder, more wear-resistant steels (like S30V, CPM-154, or various powder steels) that take longer to sharpen than typical kitchen steel, and often benefit from diamond abrasives rather than standard aluminum oxide or ceramic stones, since diamond stays effective on high-hardness blades far longer.
Glossary of Knife Sharpening Terms
A Step-By-Step Guide to Sharpening a Knife on a Whetstone
Whetstone sharpening intimidates a lot of people, but the actual process is simple once it’s broken into steps. Here’s the method we used throughout testing, adapted for a beginner working with a combination stone like our top pick.
- Soak the stone. If you’re using a water stone, submerge it for the time recommended by the manufacturer, typically 5 to 15 minutes, until bubbles stop rising to the surface. Some splash stones only need a quick wetting; check your specific stone’s instructions.
- Secure the stone. Place the stone on a damp towel or a dedicated stone holder so it can’t slide around while you work. A stone that shifts mid-stroke is both dangerous and ruins your consistency.
- Find your angle. Rest the blade against the stone at your target angle (20 degrees for most Western knives, 15-16 for Japanese knives). A simple trick for beginners: place the spine of the blade flat on the stone, then lift it until you’ve raised it roughly the width of two stacked matchbooks. That’s a reasonable approximation of 15-20 degrees.
- Start on the coarse side. Using light, even pressure, draw the blade across the stone in a sweeping motion, as if you’re trying to shave a thin slice off the stone’s surface, moving from heel to tip. Repeat 10-15 times on one side.
- Check for a burr. Run a fingertip gently along the opposite edge (away from the blade, never toward it). If you feel a tiny, consistent ridge along the entire length, you’ve raised a burr and that side is done.
- Flip and repeat. Sharpen the other side the same number of strokes at the same angle until you raise a matching burr.
- Move to the fine side. Flip the stone (or switch to a separate fine stone) and repeat the same process with lighter pressure and fewer strokes, typically 5-10 per side, to refine and polish the edge and remove the burr.
- Strop if desired. A few passes on a leather strop or even a folded piece of cardboard, edge trailing rather than leading, removes any last microscopic burr and adds a final polish.
- Test and clean up. Run the paper test to confirm sharpness, then wipe down the blade and stone, and let both dry completely before storing.
The whole process takes 10-20 minutes once you’re comfortable with it, though your first few attempts will likely take longer while you build the muscle memory for holding a consistent angle.
Carbon Steel vs. Stainless Steel: Does It Change How You Sharpen?
The type of steel your knife is made from affects both how easily it sharpens and how it should be maintained afterward, which is worth understanding before you pick a sharpening method.
Carbon steel is generally softer and easier to sharpen than stainless steel, taking an edge quickly on almost any stone or sharpener. The tradeoff is that carbon steel reacts with moisture and acidic foods, developing a patina over time and rusting quickly if left wet. If you own carbon steel knives, dry them immediately after sharpening and after every use, and consider a light coat of food-safe mineral oil on the blade if it will be stored for any length of time.
Standard stainless steel, the kind used in most Western knives from brands like Wusthof, Zwilling, and Victorinox, is more corrosion-resistant but slightly harder to sharpen from scratch, though it still responds well to standard sharpening stones and electric sharpeners without any special equipment.
High-carbon “super steels”, increasingly common in premium Japanese knives and high-end pocket knives (steels like VG-10, ZDP-189, or various powder-metallurgy steels), are significantly harder and more wear-resistant. They hold an edge far longer between sharpenings but take noticeably more time and effort to sharpen when they finally do dull. For these steels, diamond abrasives are strongly recommended over standard aluminum oxide stones, since diamond maintains its cutting ability on hard steel far longer without wearing down or glazing over.
Practically speaking, this means owners of premium Japanese or super-steel knives should lean toward diamond-plate guided systems or diamond whetstones, while owners of typical German or Swiss kitchen knives can use virtually any stone or sharpener on this list without issue.
How Long Does a Sharp Edge Actually Last?
Edge retention, meaning how long a knife stays sharp under normal use, depends on three main factors: the steel’s hardness, the cutting board material, and how the knife is used and stored. Understanding these can help you get significantly more mileage out of every sharpening session.
Steel hardness is measured on the Rockwell C scale (HRC). Softer steels around 56-58 HRC, common in budget and mid-range Western knives, dull faster but are easier to re-sharpen and less prone to chipping. Harder steels around 60-64 HRC, common in premium Japanese knives, hold an edge much longer but are more brittle and can chip if used carelessly, for example on bone or a glass cutting board.
Cutting board material has an outsized effect that many home cooks underestimate. Glass, stone, and ceramic cutting boards are essentially sharpening stones in disguise, dulling a blade dramatically faster than wood or plastic. Switching from a glass board to an end-grain wood or soft plastic board can, by itself, roughly double or triple the interval between sharpenings.
Usage habits matter too. Twisting or prying with the blade, cutting on hard surfaces like a plate or countertop, or using a delicate knife for a task it wasn’t designed for (like cutting through bone with a thin slicing knife) all accelerate edge loss regardless of steel quality.
With good habits, honing regularly, a wood or plastic cutting board, and proper storage, most home cooks can stretch the interval between full sharpenings from a couple of months to closer to six months or even a full year.
Knife Storage and Its Effect on Sharpness
How you store your knives between uses has a bigger impact on how often you’ll need to sharpen than most people realize.
- Loose in a drawer: The worst option. Blades constantly bang against other utensils, chipping and rolling the edge, and creating a real safety hazard when reaching into the drawer. If this is your only option, at minimum use blade guards or knife sleeves.
- Knife block: A solid option that protects the edge well, though wooden blocks with tight slots can occasionally dull an edge slightly through repeated contact with the slot walls. In-block knives should still be fully dry before storing to prevent trapped moisture and mildew inside the slots.
- Magnetic strip: Many enthusiasts consider this the best option, since the blade never touches another piece of metal or the strip itself in a way that dulls the edge, and knives are stored out in the open where they dry naturally and stay visible for easy selection.
- In-drawer knife tray with individual slots: A good middle ground between a block and loose storage, keeping blades separated and edge-protected while saving counter space.
Whichever method you choose, the single most important rule is consistency: never store a wet knife, since trapped moisture promotes corrosion even on stainless steel over time, and always keep the edge from making unnecessary contact with other hard surfaces.
Safety Tips for Sharpening Knives at Home
Sharpening puts you in direct, repeated contact with an increasingly sharp blade, so a few safety habits are worth building from the start.
- Always check for a burr with a fingertip moving away from the edge, never toward it, and never drag a finger along the edge itself to test sharpness. Use the paper or tomato test instead.
- Keep your stone or sharpener stable on a damp towel or non-slip mat so it can’t shift while your hand is applying pressure near the blade.
- Work slowly, especially as a beginner. Rushing increases the odds of a slip, and speed offers no real benefit over a controlled, deliberate pace.
- Keep fingers clear of the electric sharpener’s slots while it’s running, and unplug or power down the unit before cleaning it out.
- Store newly sharpened knives immediately rather than leaving them out on a counter or in a sink, where a freshly honed edge is at its most dangerous to encounter by accident.
- Practice on an inexpensive knife first if you’re learning a new method, particularly freehand whetstone technique, before working on a knife you actually care about.
How to Tell If a Knife Needs Sharpening vs. Replacing
Not every dull or damaged knife is worth saving with a sharpener. Here’s how to know when it’s time to let a knife go instead.
A knife is almost always worth sharpening if the edge is simply dull from normal use, even if it’s failing the paper and tomato tests badly. This is exactly what sharpening exists to fix, and even a severely dull blade can usually be restored with a coarse stone or aggressive electric sharpener stage.
A knife with small chips or a slightly rolled edge is also generally worth saving, though it will need a coarse grit to reshape the edge and remove enough metal to get past the damage, which means a bit more time and metal loss than routine maintenance.
A knife may not be worth saving if the blade has significant rust pitting that’s eaten into the steel itself (as opposed to surface rust, which can often be cleaned off), if the tip has snapped off entirely and changed the whole geometry of the blade, or if it’s an inexpensive knife where the cost and time of restoration exceeds the price of simply replacing it. In these cases, it’s often more sensible to retire the knife and put your sharpening effort into blades that are actually worth the investment.
Sharpening Kitchen Shears and Specialty Blades
Kitchen shears, cleavers, and other specialty tools are often overlooked in a standard sharpening routine, but they benefit from the same basic care as chef’s knives, with a few adjustments.
Kitchen shears typically have a beveled edge on only one side of each blade, similar to a single-bevel knife. Many pull-through sharpeners include a dedicated shear slot, usually marked with a scissor icon, that’s angled correctly for this purpose. If yours doesn’t, a small ceramic rod worked carefully along the beveled side of each blade, matching the existing angle, will restore the edge.
Cleavers are typically ground at a steeper angle than a standard chef’s knife, often 25-30 degrees, since they’re designed to handle chopping through bone and cartilage rather than fine slicing. Most guided systems that offer a 25-degree setting, like the Lansky system in our lineup, work well for cleavers; standard 20-degree electric sharpeners will leave the edge more fragile than intended for the heavy-duty work a cleaver typically does.
Boning and fillet knives often have thin, flexible blades that require a gentler touch than a rigid chef’s knife. Pull-through and electric sharpeners can sometimes flex these thin blades in a way that produces an inconsistent angle, so a whetstone or a guided system that clamps the spine securely tends to give more reliable results.
Sustainability and Cost Savings of Sharpening vs. Replacing Knives
Beyond performance and safety, there’s a straightforward economic and environmental case for sharpening rather than replacing dull knives. A quality chef’s knife can easily cost $60 to $200 or more, and with proper sharpening and honing, a well-made knife can realistically last a lifetime, being passed down or used for decades of daily cooking. Letting a good knife go dull and eventually replacing it because it “doesn’t cut well anymore” throws away most of that investment for the cost of what amounts to a few minutes of maintenance.
On the environmental side, manufacturing a new knife from raw steel has a real material and energy cost, while sharpening an existing blade uses only a small amount of abrasive material and a few minutes of your time. A single quality whetstone, which costs roughly the same as one mid-range replacement knife, can sharpen dozens of knives for years without needing to be replaced itself.
Framed this way, the modest upfront cost of a good sharpener, whether that’s a $30 electric model or a $40 whetstone, typically pays for itself the first time it saves you from replacing even one knife you would have otherwise thrown away simply because it seemed too dull to bother with.
Additional Frequently Asked Questions
A Brief History of Knife Sharpening
Sharpening tools are almost as old as blades themselves. Early humans refined stone tools like flint and obsidian by knapping, striking off small flakes to create and maintain a working edge, a technique that predates metal blades by tens of thousands of years. Once bronze and later iron and steel blades became common, natural sharpening stones, quarried from regions known for fine-grained rock, became prized trade goods. Japan’s Nakayama and Ozuku mines, for example, produced natural whetstones that were used to sharpen swords and are still sought after by collectors and professional sharpeners today, even as most modern sharpening has shifted to synthetic, manufactured stones with far more consistent and predictable grit.
The honing steel, now a familiar sight in most kitchen knife blocks, became widespread alongside the rise of mass-produced Western cutlery in the 18th and 19th centuries, giving cooks and butchers a fast way to maintain an edge between full sharpenings without needing to return to a stone daily. Electric sharpeners are a comparatively recent invention, emerging in the mid-20th century and steadily improving in precision as manufacturers added angle guides, multi-stage abrasives, and eventually the flexible-belt systems used in machines like the Work Sharp E5 today. Despite all this technology, the fundamental principle hasn’t changed in thousands of years: an edge gets sharp by removing metal (or stone, or flint) at a consistent angle until two surfaces meet at a fine point.
Understanding Edge Geometry: Flat, Convex, and Hollow Grinds
Beyond the angle, the overall shape of the bevel, known as the grind, also affects how a knife performs and how it should be sharpened.
A flat (or “V”) grind is the most common shape produced by whetstones, guided systems, and most pull-through sharpeners. The bevel forms a straight, flat plane from the edge to the shoulder. It’s simple to maintain and produces a reliably sharp, predictable edge, though it can be slightly less durable than a convex grind at very thin angles.
A convex grind curves gently outward from the spine to the edge with no distinct flat bevel, distributing the steel behind the edge more gradually. This is the grind produced by belt-based sharpeners like the Work Sharp E5, and it’s prized for its durability, since there’s no sharp transition line to chip or roll under stress. Convex edges are common on high-end outdoor and hunting knives as well as some premium kitchen knives.
A hollow grind curves inward, creating a very thin, concave bevel that’s extremely sharp but comparatively fragile. This grind is common on straight razors and some specialty slicing knives, but it’s rare in general kitchen cutlery because the thin edge doesn’t hold up well to the rougher use a kitchen knife typically sees.
For most home cooks, the practical takeaway is simple: don’t worry about intentionally changing your knife’s grind. Instead, try to match your sharpening method to whatever grind the knife already has. A knife that came from the factory with a convex edge, for example, will stay closest to its original performance if you continue maintaining it with a belt-based sharpener rather than a flat stone, which would gradually convert it to a flat grind over repeated sharpenings.
Left-Handed Sharpening Considerations
Most sharpening tools are designed to be angle- and hand-agnostic, but a few details are worth knowing if you’re left-handed. Pull-through and electric sharpeners generally work identically regardless of which hand you use to hold the knife, since the guides and slots are symmetrical. Whetstone sharpening is also fundamentally the same process for left- and right-handed users; you simply hold the knife in whichever hand feels natural and adjust your stance at the stone accordingly.
The one place handedness genuinely matters is with certain single-bevel Japanese knives, which are traditionally ground for either a right-handed or left-handed user, with the bevel angled to only one side of the blade. A left-handed cook using a right-handed single-bevel knife (or vice versa) will find the blade wants to veer off a straight cutting line, and sharpening won’t fix this mismatch, since it’s a function of which side the bevel was ground on, not the sharpness of the edge itself. If you’re left-handed and shopping for a traditional single-bevel Japanese knife, look specifically for a left-handed (sometimes labeled “gyakuba” or “left”) version.
Traveling and Camping With a Knife Sharpener
If you cook or process food away from home, whether that’s camping, hunting, or working a food truck, a dedicated portable sharpening setup is worth having separate from whatever you use in your home kitchen.
Look for compact, lightweight options that don’t require water or electricity, since both are often unavailable in the field. A small diamond card or field sharpener with a built-in ceramic rod, like our portable pick, covers sharpening, honing, and light stropping in a single pocket-sized tool. Diamond abrasives are especially well suited to travel use since, unlike water stones, they work effectively dry and don’t need to be soaked before use, and they hold up well to the outdoor knives and harder steels commonly carried while camping or hunting.
A few practical tips for sharpening on the go: work on a stable, flat surface whenever possible, keep the sharpener in a protective pouch to prevent grit contamination from dirt or sand, and if you’re field dressing game, plan on honing far more frequently than you would in a kitchen, since bone and cartilage dull an edge considerably faster than typical kitchen prep work.
Eco-Friendly and Zero-Waste Sharpening Options
For anyone trying to minimize consumable waste in the kitchen, whetstones are the clear winner among sharpening methods. A single quality stone, properly flattened and cared for, has no disposable parts, no belts to replace, and no batteries or cords, and can remain in service for a decade or more of regular use. Electric sharpeners, by contrast, eventually need replacement belts or abrasive wheels, and the unit itself will eventually reach the end of its electrical or mechanical life. If sustainability and long-term cost are top priorities, a whetstone paired with a ceramic honing rod, itself essentially a lifetime tool, is the lowest-waste combination on this list, and it’s a big part of why so many professional chefs and serious home cooks eventually gravitate toward stones even after starting out with an electric sharpener.
Sharpening Angle Cheat Sheet: Quick Reference by Task
If you’d rather think in terms of what you’re cutting rather than what brand you own, this quick reference maps common kitchen and outdoor tasks to the angle that generally performs best, based on our testing and general cutlery industry guidance.
- Fine slicing (sashimi, delicate herbs, tomatoes): 15-16 degrees per side. A thin edge glides through soft ingredients with minimal tearing.
- General chopping and dicing (onions, vegetables, most prep work): 17-20 degrees per side. A balance of sharpness and durability that suits an all-purpose chef’s knife.
- Bread and crusty foods: Requires a serrated edge rather than a standard angle; see our serrated knife sharpening guide above.
- Boning and breaking down poultry or fish: 20-22 degrees per side, favoring a slightly more durable edge that can tolerate occasional contact with bone or cartilage without chipping.
- Heavy chopping through bone (cleavers): 25-30 degrees per side. A steep, robust edge built to withstand repeated impact.
- Outdoor and hunting knives: 20-25 degrees per side, balancing field-dressing performance with the durability needed for rougher outdoor tasks.
- Pocket and EDC knives: 17-22 degrees per side depending on the steel’s hardness; harder steels can support a slightly thinner angle without chipping.
When in doubt, 20 degrees per side is the safest general-purpose choice for almost any Western kitchen knife, and it’s the default setting on the majority of the sharpeners in our lineup for exactly this reason.
Frequently Asked Questions (FAQ)
Conclusion: Your Best Investment
A sharp knife is the most important tool in your kitchen. It makes cooking more fun, more precise, and, most importantly, safer. Buying a quality sharpener isn’t an expense; it’s an investment that protects your *other* investments—your knives.
For the vast majority of home cooks in the U.S., the Work Sharp E5 offers the best possible blend of power, versatility, and ease of use. If you’re on a tighter budget, the Presto EverSharp delivers incredible results for the price.
Whichever you choose, the best sharpener is the one you’ll actually use. Pick the one that fits your budget and skill level, and say goodbye to dull, frustrating knives for good.
As an Amazon Associate, knifeindex.com/ may earn from qualifying purchases.