Master Your Blade: The 5 Foundational Knife Skills That Transform Cooking
Why Knife Skills Are Your Culinary Superpower
Imagine walking into a professional kitchen—the rhythmic sound of blades meeting cutting boards, the mesmerizing uniformity of vegetable cuts, the effortless efficiency of chefs transforming ingredients. This symphony of culinary artistry begins not with fancy equipment or secret ingredients, but with something far more fundamental: masterful knife skills.
Save Time
Proper technique can cut prep time by 40% or more
Improve Results
Even cuts = even cooking = better flavor
Boost Safety
Correct form prevents 90% of kitchen accidents
Reduce Stress
Confidence with a knife makes cooking enjoyable
A $50 knife in skilled hands will outperform a $500 knife in unskilled hands every single time. Master the skills before upgrading the tools.
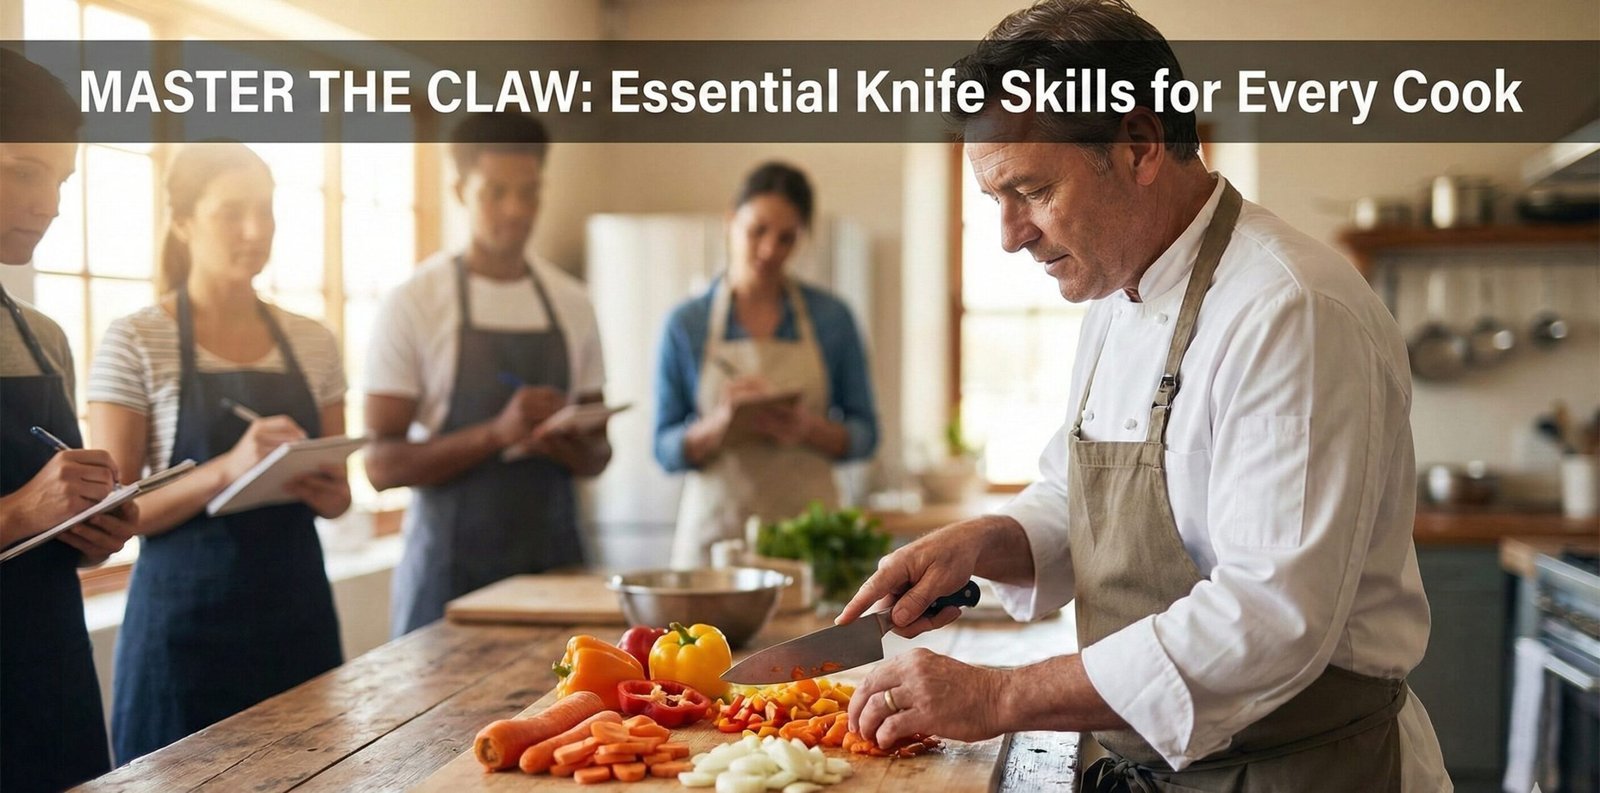
The Claw Grip: Your Foundation of Safety & Precision
Mastering the Claw: Step-by-Step
Curl Your Fingertips
Bring fingertips inward, creating a claw shape. Your knuckles should protrude forward.
Rest Blade on Knuckles
The knife blade should slide along your knuckles, using them as a guide.
Tuck Your Thumb
Position your thumb behind your fingers, completely clear of the cutting path.
Maintain Contact
Keep knuckles against the blade throughout the cutting motion.
Perfect Your Grip with the Right Tool
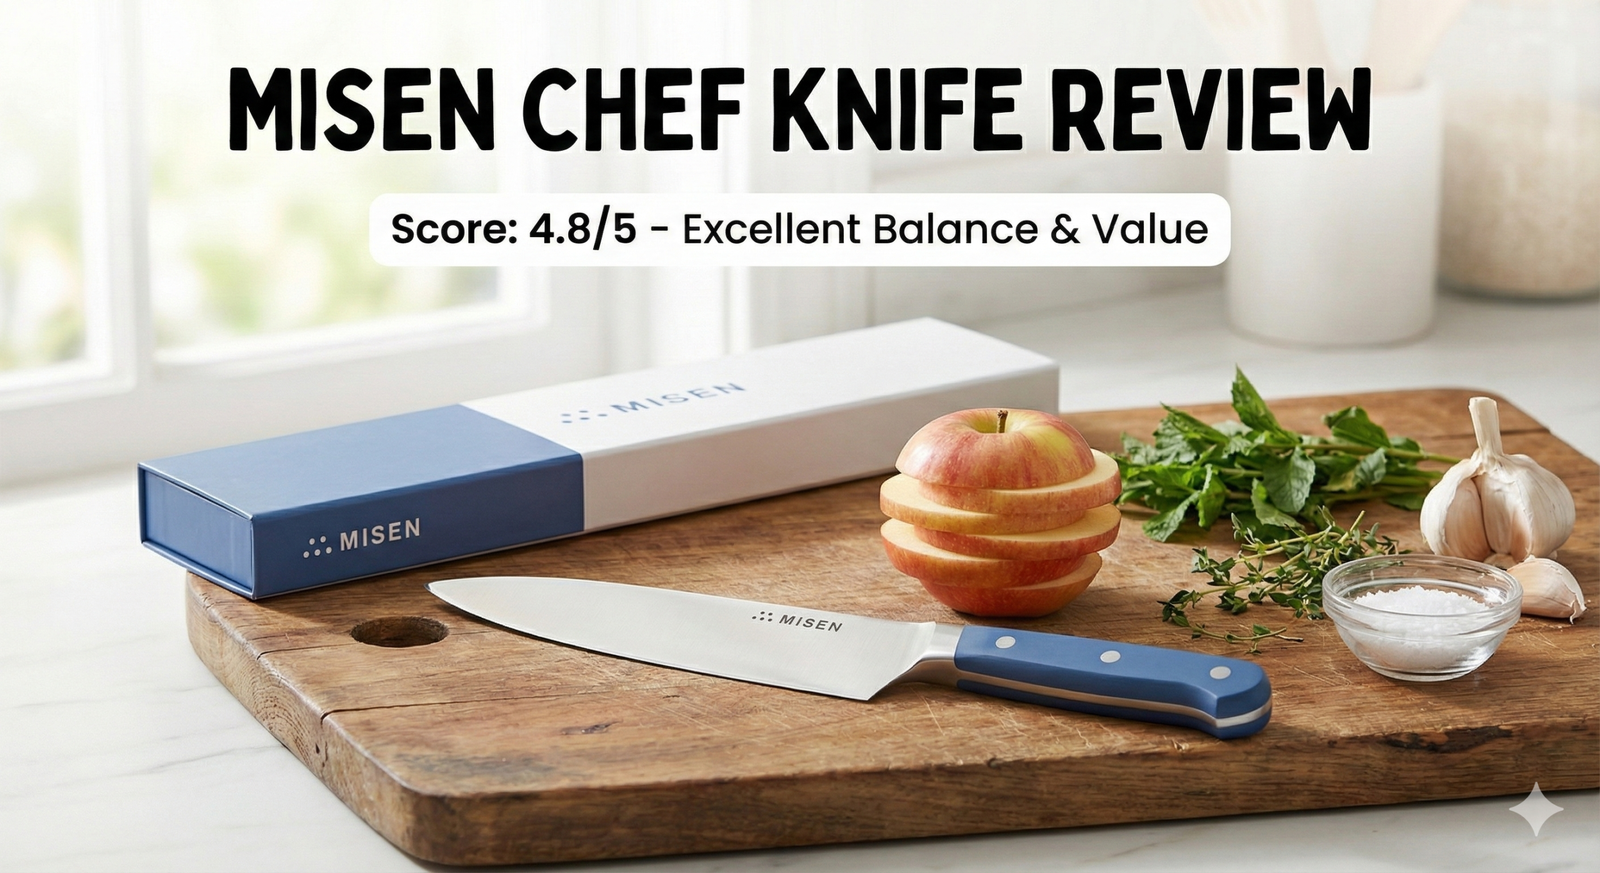
A knife with proper balance and ergonomics makes mastering the claw grip significantly easier. The right handle shape supports proper hand positioning, reducing fatigue and improving control.
The Rocking Motion: Efficiency Personified
Rocking vs. Push Cutting: When to Use Each
Choose the right technique for the task
Rocking Motion
- Mincing herbs & garlic
- Chopping onions quickly
- Large volume prep
- Soft vegetables
Push Cutting
- Precision slicing
- Dense vegetables
- Straight-edged knives
- Clean, uniform cuts
Anchor Your Tip: Keep the knife tip on the board at all times during rocking. This creates a pivot point for consistent, efficient motion and prevents the blade from wandering.
Push Cutting: Precision Without Compromise
While the rocking motion dominates Western-style cutting, push cutting is the technique of choice for single-bevel Japanese knives, dense root vegetables, and any situation where you need a perfectly flat, glass-smooth cut face. Instead of rolling the blade forward on a fixed tip, you drive the entire edge downward and slightly forward in a single continuous stroke, lifting the knife completely off the board before resetting for the next cut. Mastering this technique unlocks a level of precision that rocking simply cannot match, and it’s the difference between a home cook’s chopped onion and a chef’s razor-thin shallot.
The Push Cut, Broken Down
Position the Blade at the Heel
Start with the back third of the blade (the heel) resting just above the ingredient, tip angled slightly forward and down.
Drive Forward and Down
In one fluid motion, push the blade forward and through the ingredient, letting the tip lead the cut and exit the board first.
Lift Completely Between Cuts
Unlike rocking, push cutting requires a full lift-and-reset between strokes. Resist the urge to drag the blade back through the food.
Let the Blade Do the Work
Apply steady, even downward pressure rather than sawing. A sharp edge should glide through most produce with minimal force.
Push cutting rewards a truly sharp blade more than any other technique. A dull edge forces you to compensate with sawing motions that crush cell walls and bruise delicate produce like tomatoes and herbs. If your knife struggles to push-cut a ripe tomato without tearing the skin, it’s time to sharpen or hone before your next prep session.
Which Ingredients Favor Push Cutting?
Not every vegetable behaves the same under the blade
Dense & Fibrous
- Carrots and parsnips
- Winter squash
- Celery root
- Raw beets
Delicate & Juicy
- Ripe tomatoes
- Citrus segments
- Soft cheeses
- Fresh mozzarella
Dicing & Julienning: The Building Blocks of Uniform Prep
Dicing and julienning are less about a single motion and more about a repeatable system: cut the ingredient into a manageable shape, create flat stable surfaces, then slice with consistent spacing. Every classic dice—brunoise, small dice, medium dice, large dice—starts with the julienne, a matchstick cut that becomes the raw material for everything that follows. Once you understand the logic behind this progression, you can size any cut to match any recipe.
Brunoise
1/8 inch cubes, used for garnishes and delicate sauces
Small Dice
1/4 inch cubes, ideal for salsas and quick-cooking dishes
Medium Dice
1/2 inch cubes, the everyday workhorse for soups and stews
Large Dice
3/4 inch cubes, perfect for roasting and long braises
From Whole Vegetable to Perfect Dice
Square Off the Ends
Trim the rounded ends of your vegetable to create flat, stable surfaces that won’t roll under the blade.
Slice into Planks
Cut the vegetable lengthwise into even planks matching your target dice size.
Stack and Julienne
Stack two or three planks, then slice lengthwise again into matchsticks of consistent width.
Cross-Cut into Cubes
Gather the julienned strips and cut across at the same width to produce uniform cubes.
Uniformity Beats Speed: Judges and chefs alike prioritize consistent size over how fast a cut is executed. Uneven pieces cook unevenly—small chunks turn mushy while large ones stay raw. Slow down until your muscle memory catches up, then let speed follow naturally.
The Cross Chop: Mincing Herbs and Aromatics Fast
The cross chop is a rapid, two-handed rocking technique used to mince herbs, garlic, ginger, and other aromatics into fine, even pieces in seconds. Unlike a standard rocking cut, the cross chop uses your off-hand to guide and stabilize the spine of the blade while your dominant hand supplies the rocking power, letting you cover a wide pile of ingredients without repositioning.
Executing a Clean Cross Chop
Gather Ingredients into a Pile
Roughly chop herbs or aromatics first, then mound them together in the center of your board.
Place Your Guide Hand on the Spine
Rest your non-dominant palm flat on the top (dull) edge of the blade near the tip, fingers curled away from the edge.
Rock Side to Side
Use your dominant hand to rock the blade up and down while sweeping in a fan pattern across the pile.
Regroup and Repeat
Periodically use the flat side of the blade to scrape scattered pieces back into a pile and continue chopping until the desired fineness is reached.
For garlic and ginger, adding a small pinch of coarse salt to the pile during a cross chop acts as light abrasion, helping break down fibrous strands into a near-paste consistency—perfect for dressings, marinades, and pan sauces.
Choosing the Right Knife for Every Skill
Technique matters more than price, but the right blade makes technique easier
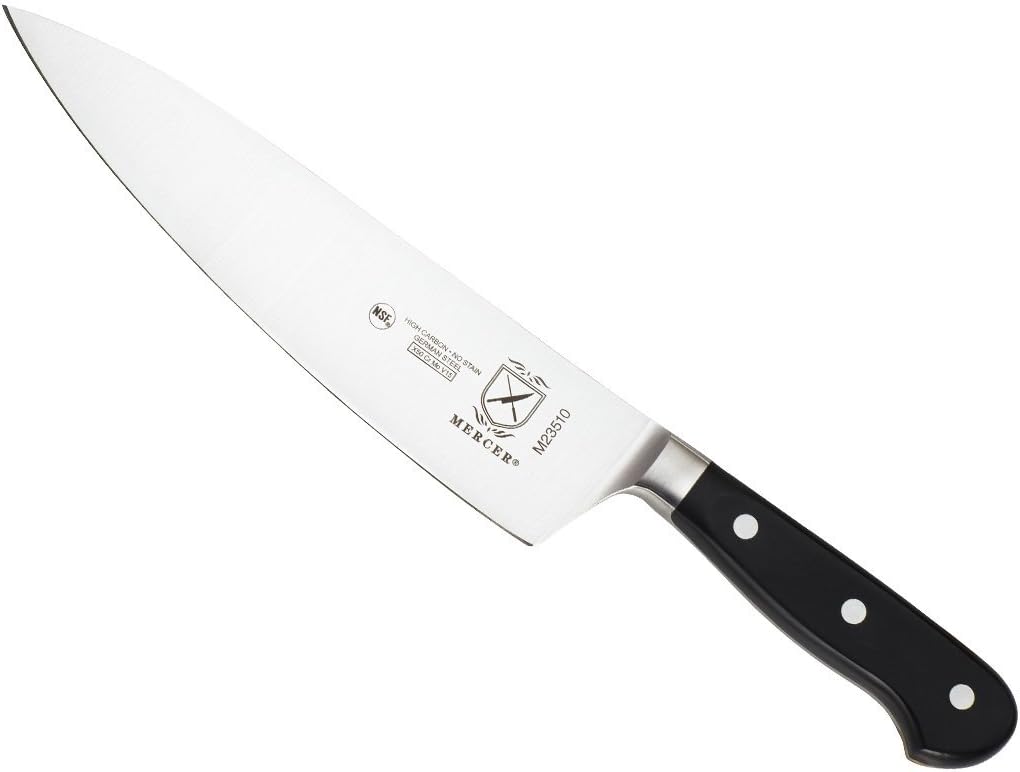
You don’t need a full knife block to cook well. Three knives—a chef’s knife, a paring knife, and a serrated bread knife—cover the vast majority of home cooking tasks. What matters most is how each knife feels in your hand: blade weight, handle shape, and balance point all influence how naturally the claw grip, rocking motion, and push cutting come together.
Chef’s Knife (8″)
The workhorse for 90% of prep: rocking, push cutting, dicing, and mincing
Paring Knife
Precision peeling, trimming, and detail work that a larger blade can’t handle
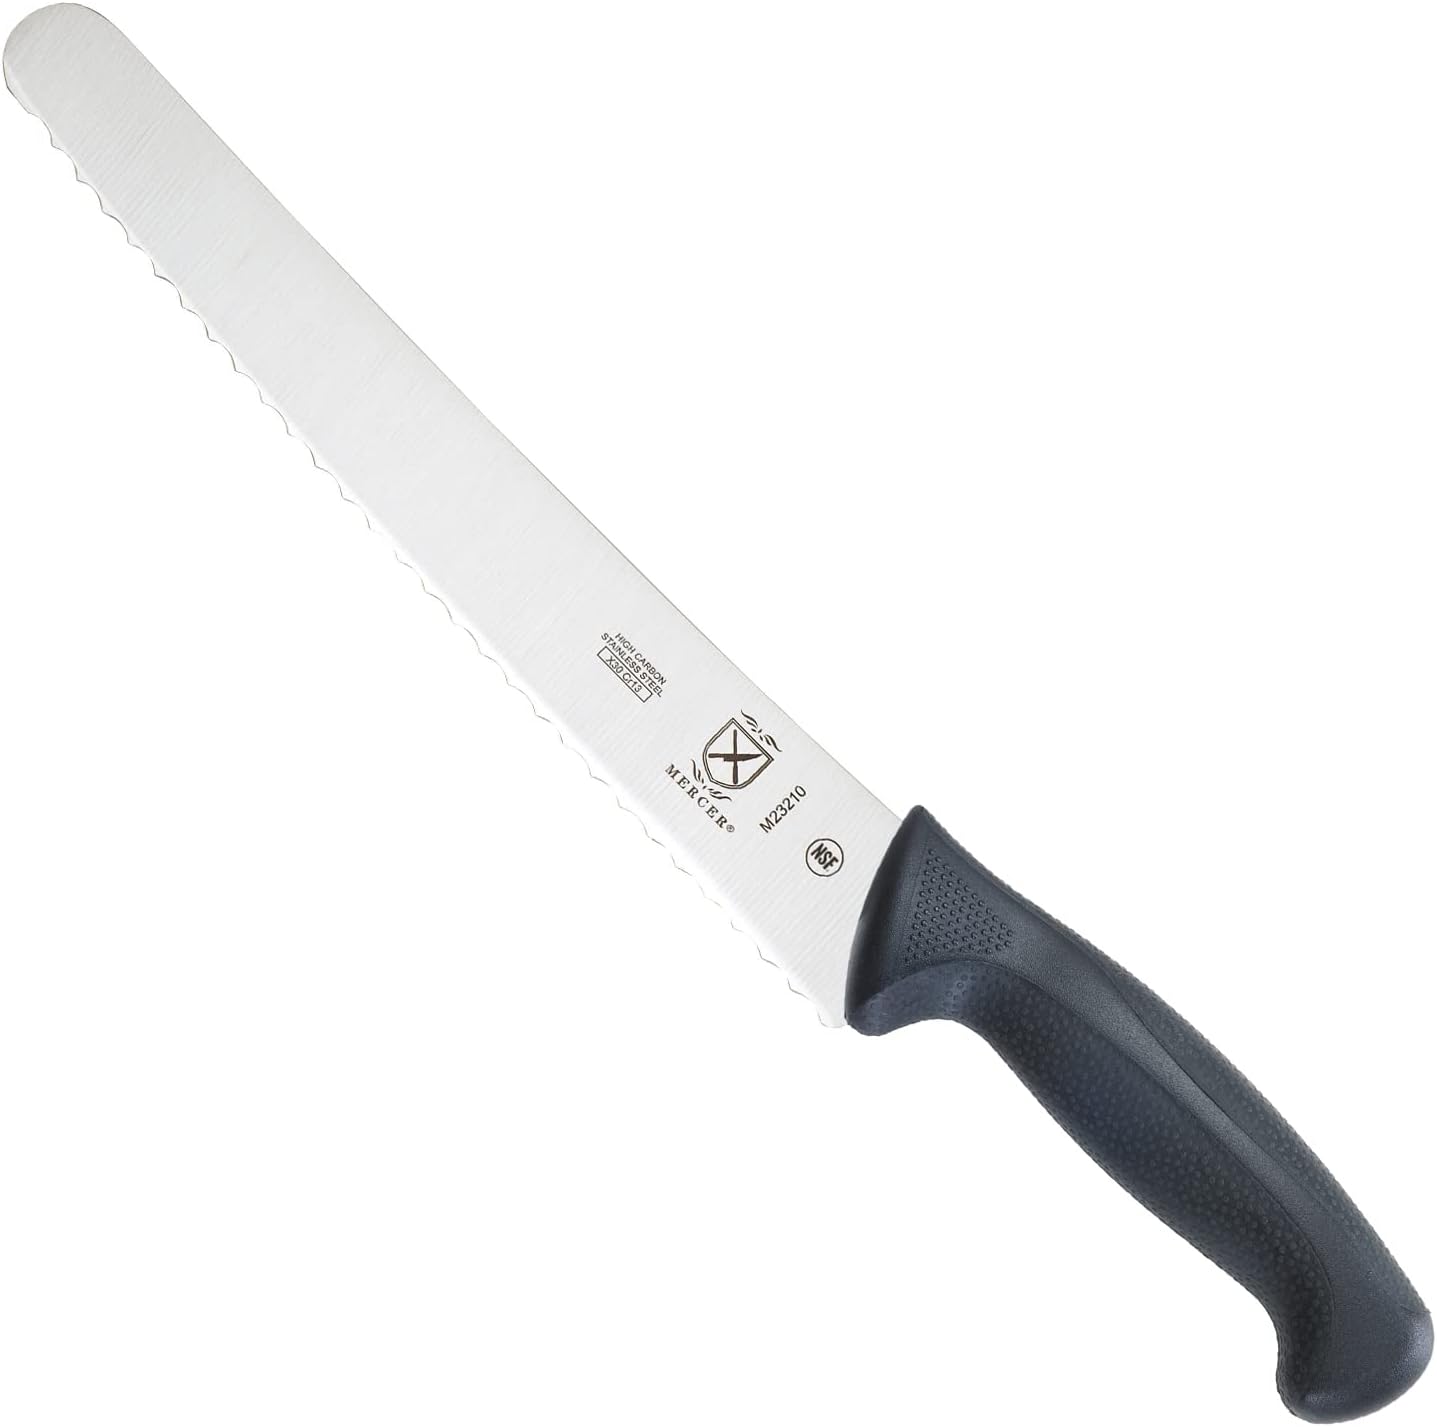
Serrated Bread Knife
Clean slices through crusty bread and delicate cakes without crushing
Boning/Fillet Knife
A flexible blade for separating meat and fish from bone with precision
Western vs. Japanese Blade Profiles
Different geometries favor different techniques
Western Chef’s Knife
- Curved belly for rocking
- Heavier, more durable edge
- Forgiving for beginners
- Double-beveled edge
Japanese Gyuto/Santoku
- Flatter profile for push cutting
- Thinner, harder steel
- Exceptional edge retention
- Often single-beveled
Not Sure Which Knife to Buy?
The knife you reach for most often should feel like an extension of your hand. Balance, handle material, and blade weight all affect how quickly these five skills become second nature.
Kitchen Safety: Preventing the Most Common Knife Injuries
Confidence comes from consistent, safe habits—not bravado
Most kitchen knife injuries happen not because someone was moving too fast, but because their setup was wrong: an unstable cutting board, a wandering support hand, or a dull blade that requires excess force. Building safety into your routine before you even pick up the knife eliminates the majority of risk.
Pre-Cut Safety Checklist
Stabilize Your Board
Place a damp paper towel or silicone mat underneath your cutting board to stop it from sliding.
Create a Flat Base
Cut round vegetables in half first so they sit flat instead of rolling toward your fingers.
Keep the Blade Sharp
A sharp knife requires less force and is far more predictable than a dull one, which is more likely to slip.
Never Catch a Falling Knife
If a knife slips off the counter, step back and let it fall. Reflexively grabbing it is a leading cause of deep cuts.
Safe Habits vs. Risky Habits
Small adjustments make a measurable difference
Safe Practices
- Cutting away from your body
- Walking with the blade pointed down
- Washing knives one at a time, never soaking in a full sink
- Storing blades in a block or on a magnetic strip
Common Risks
- Cutting on an unstable or curved surface
- Reaching into a sink full of soapy water
- Using a dull blade that requires extra pressure
- Distracted cutting while talking or watching a screen
The 80% Rule: Only cut ingredients you can control with about 80% of your attention. If a cut demands your full focus, slow down further rather than pushing through on autopilot.
Maintenance & Sharpening: Keeping Your Edge Skill-Ready
Technique only works as well as the blade behind it
Even flawless technique falls apart against a dull blade. Honing and sharpening are two different processes that are often confused: honing realigns a rolled edge between sharpenings, while sharpening actually removes metal to create a new edge. Understanding the difference—and doing both regularly—keeps every technique in this guide performing the way it should.
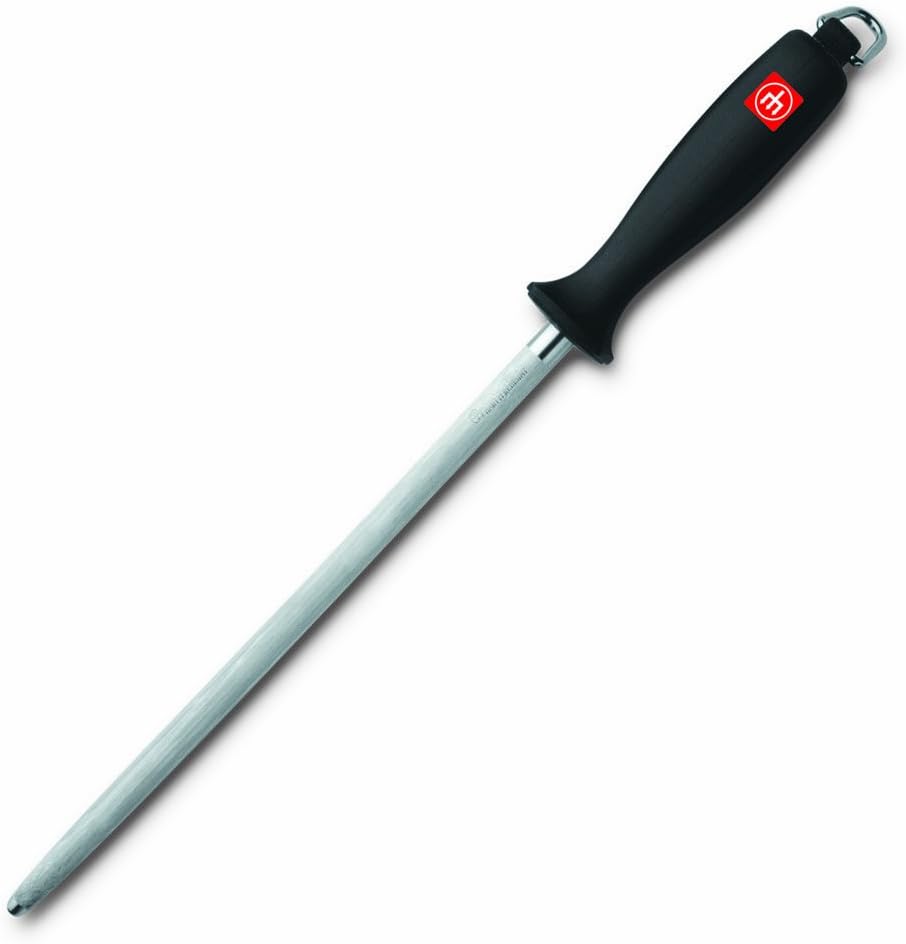
Hone Every Use
A honing steel realigns the edge in seconds before each prep session
Sharpen Monthly
Whetstones or pull-through sharpeners restore a true cutting edge
Hand Wash Only
Dishwashers dull edges and can damage handles over time
Store Properly
Blocks, magnetic strips, or blade guards prevent edge damage in drawers
Run a simple sharpness test before you start prepping: try to slice through a sheet of printer paper held vertically. A properly sharpened knife glides through cleanly; a dull one snags and tears. If your blade fails this test, hone first, and if honing doesn’t help, it’s time for a full sharpening.
Practice Exercises to Build Real Muscle Memory
Deliberate repetition beats occasional cooking every time
Knife skills develop the same way any physical skill does: through focused, repeated practice rather than passive exposure. These exercises use inexpensive produce so you can practice without the pressure of ruining an expensive meal, and each one targets a specific skill from this guide.
Five Drills to Practice Weekly
The Onion Drill
Dice one onion daily for a week using the claw grip and rocking motion. Track how your consistency and speed improve.
Carrot Coin Challenge
Slice a whole carrot into coins of identical thickness using push cutting, checking uniformity against a ruler.
Herb Mincing Sprint
Time yourself cross-chopping a bunch of parsley into a fine mince, aiming to shave seconds off each attempt.
Julienne to Brunoise
Practice taking a bell pepper from whole to julienne to brunoise in one continuous sequence without stopping to reset your grip.
Practice Slow, Then Fast: Culinary schools teach students to nail consistency at a slow, deliberate pace before ever chasing speed. Rushing early bakes in bad habits that are much harder to unlearn later.
Professional Tips From the Line
Small habits that separate line cooks from home cooks
Mise en Place First
Prep every ingredient before you start cooking so technique never has to rush
Rotate, Don’t Reposition
Turn the ingredient instead of walking around the board to keep your stance consistent
Wipe the Blade, Not Your Hand
Keep a damp towel nearby to clean the blade between ingredients instead of your apron
Watch the Ingredient, Not the Blade
Trust your claw grip and focus your eyes on where the next cut will land
Professional cooks rarely look directly at the blade while cutting—they watch the ingredient and let their guiding hand’s feedback keep the knife on track. This comes only after the claw grip becomes automatic, which is exactly why the first skill in this guide deserves the most repetition.
Common Mistakes That Slow Down Progress
Recognize these patterns early to correct them faster
Gripping the Handle Only
- Reduces control and precision
- Increases wrist fatigue
- Fix: pinch the blade itself between thumb and index finger
Lifting the Tip While Rocking
- Breaks the pivot point
- Produces uneven cuts
- Fix: consciously anchor the tip on the board
Sawing With a Dull Blade
- Crushes delicate produce
- Increases risk of slipping
- Fix: hone before every session, sharpen monthly
Straightening the Guide Hand Fingers
- Exposes fingertips to the blade
- Signals rushed or distracted cutting
- Fix: return to the claw grip and slow down
Frequently Asked Questions
Your knife skills questions, answered by experts
Most home cooks can build safe, functional technique within two to four weeks of regular practice. True fluency, where cuts become automatic and fast, typically develops over three to six months of consistent cooking.
No. A well-balanced mid-range knife in good condition will teach you proper technique just as effectively as a premium blade. Focus your budget on keeping the edge sharp rather than upgrading the knife itself.
Cramping usually means you’re gripping too tightly. Relax your fingers into a gentle curl rather than clenching them, and take short breaks during long prep sessions until the muscles adapt.
Honing straightens a rolled edge and should be done before nearly every use with a honing steel. Sharpening removes metal to form a new edge and is only needed every few weeks to a month, depending on use.
Rocking is generally easier to learn first because the curved blade and anchored tip provide a natural rhythm. Push cutting can be introduced once the claw grip and basic control feel comfortable.
Foundation Building
Master the claw grip and basic cuts. Focus on safety and consistency over speed.
Skill Development
Practice dicing, julienning, and rocking motion. Begin timing your prep.
Fluency Phase
Techniques become second nature. Start experimenting with advanced cuts.
Mastery Level
Effortless precision. You can focus on ingredients and recipes, not cutting technique.
Ready to Transform Your Kitchen Experience?
Join 15,000+ home cooks who’ve elevated their cooking through masterful knife skills.